
Showing posts with label sculpting. Show all posts
Showing posts with label sculpting. Show all posts
Tuesday, May 4, 2010


Thursday, April 15, 2010
Who Sculpted the Moon's Nose?


Now, the nose!
Pull a hunk of clay out of the bag. It's going to take a little practice to be able to gauge how much clay you'll need to make a nose for whatever size face you're working on, but not to worry, you can always add or subtract to, or from, whatever you have pulled out! Use your hands to begin shaping your clay into a nose. It's going to be triangular shaped, flat backed, very thin at the top. Again, look at your nose in a mirror if that helps.
Use your finger to wet the nose area on the moon and press the nose onto the space. Smooth out the edges with your fingers. Use your tools to put detail into the nostrils and the flesh around the nostrils.
Who Sculpted the Moon's Nose?
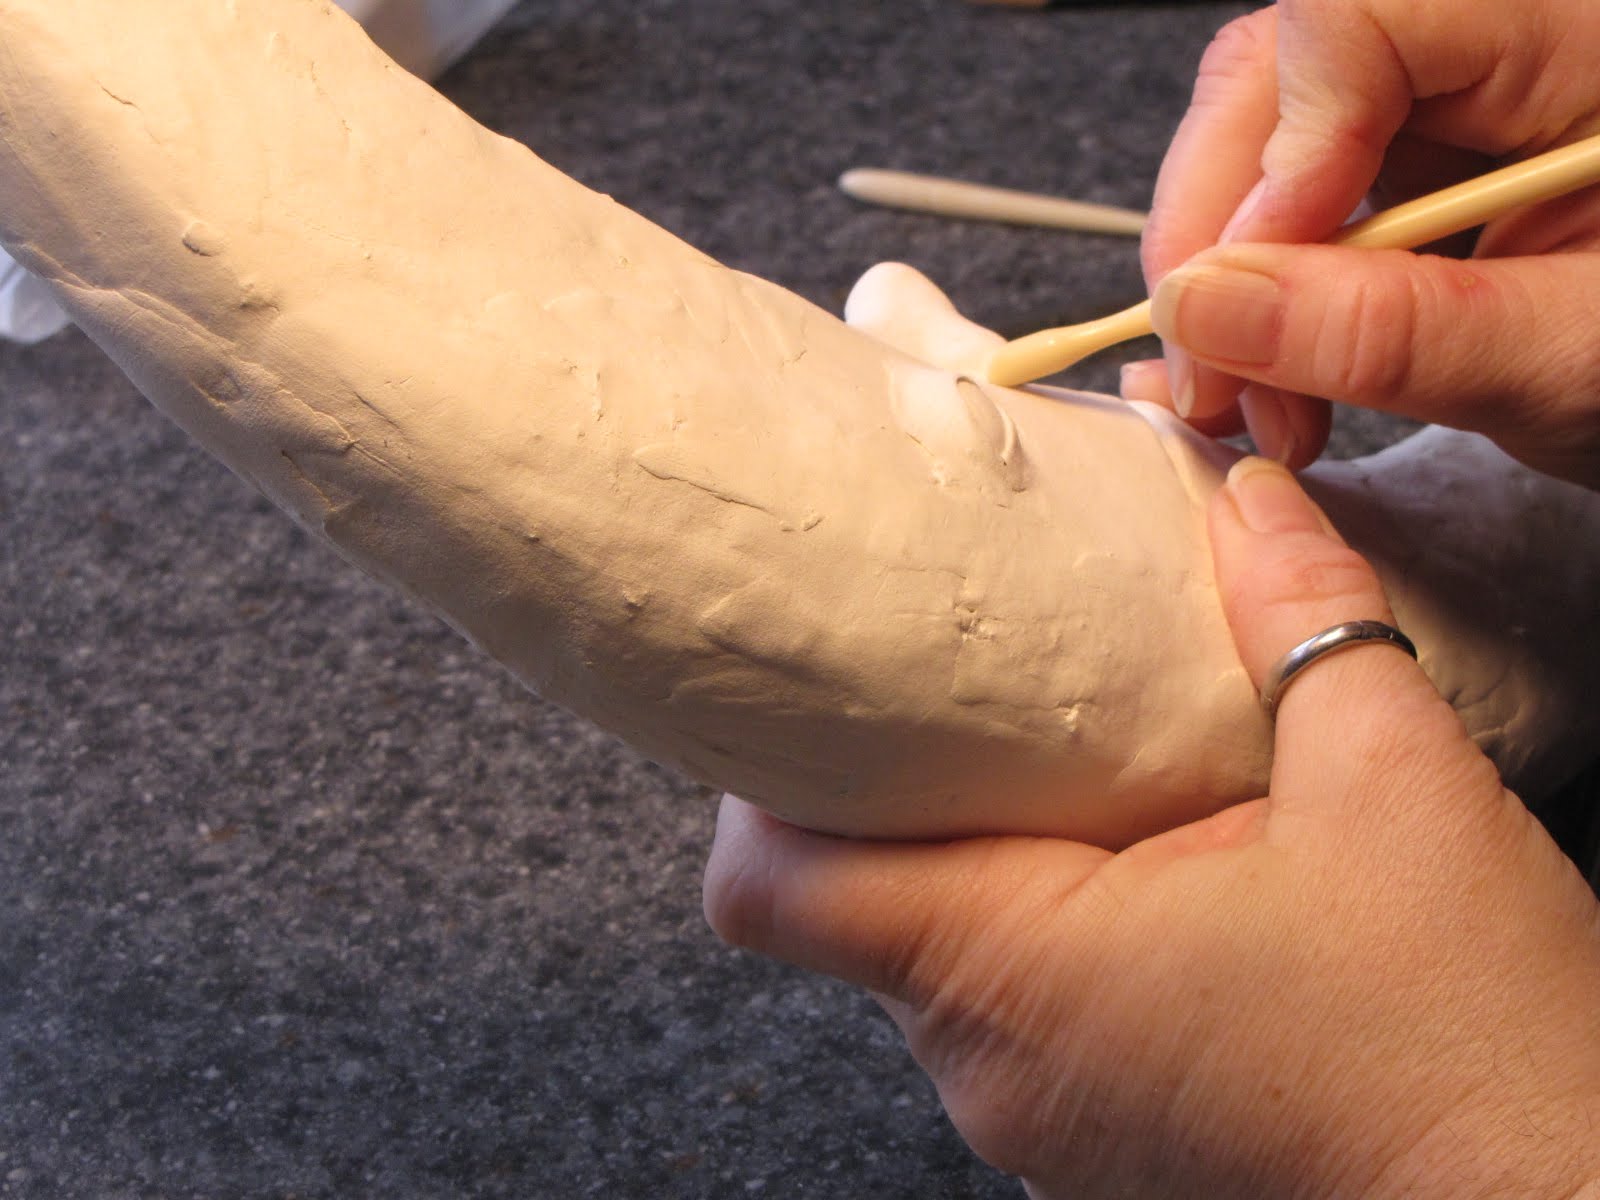


Okay, the nose is done, we'll let it dry!
BUT. Do you see the problem with the eyes? They're not in the right place; too low and at an odd angle. They're sitting where the cheek should be! I'm adding the picture with the odd cropping, it's more obvious in this one. In the next post I'll show you how easy it will be to fix them (the magic of working with Creative Paperclay!).
BUT. Do you see the problem with the eyes? They're not in the right place; too low and at an odd angle. They're sitting where the cheek should be! I'm adding the picture with the odd cropping, it's more obvious in this one. In the next post I'll show you how easy it will be to fix them (the magic of working with Creative Paperclay!).
Wednesday, April 14, 2010
Who Sculpted the Moon?


Hey!
I'm working on a 15" hanging crescent moon, with a face, want to come along?
It's Creative Paperclay over a Styrofoam base. I cut a large circle of Styrofoam into a crescent shape and covered it with a thin coat of clay. I've already put flat-back egg shapes on each side of the crescent in the area where the eyes will be (in fact, these will later become the eyes!).
Oh, by the way, if you haven't worked with Creative Paperclay before you have to keep it in an air tight container. It starts to dry immediately. I use a zip-top baggie; a quart size one holds a pound of clay perfectly. Also when you are adding clay to clay, or clay to any surface for that matter, you must wet the clay (or the surface) first. If it's clay just dampen it, too much water will give the clay a mealy texture.
There are two ways of sculpting the face (or anything for that matter),; you can sculpt one feature at a time, allowing for drying time before adding the next feature; or you can sculpt wet into wet with no drying time between features. There are pros and cons to both methods. The former gives you more control, but it takes longer of course. The latter is more spontaneous, but it is so easy to "mess up" what one has done when one is working on top of wet clay. For this moon we're going to sculpt a feature and allow it to dry before adding another. Since it's two-sided there is too much opportunity to "mess up" what we've already sculpted.
First take out a hunk of clay (reseal the baggie) and start to shape it into an upper lip. If you haven't done much sculpting keep a mirror handy and use yourself as a model. See how your upper lip is shaped. Not just the lip, but from your mouth to your nose, the whole section.
Figure where the lip should go. It's okay to draw the layout of the face on the moon with a pencil if it helps, it won't show when we're done. Dip your finger in water and wet the area where the upper lip is going to go. Press the lip onto the moon and smooth the upper and side edges. Use a tool to shape expression into the lip.
For sculpting I prefer antique manicure tools that I find at antique stores and flea markets. But one can also find good sculpting tools in the clay aisle at Michaels (and other craft stores) or on-line from Dick Blick. You can also get some wonderful handmade tools, for a reasonable price on etsy at http://www.amcreatures.etsy.com/
Now, take another hunk of clay, shape it into a bottom lip. This should include the lip and the face under the lip down to where it meets with the chin. The lower lip will have to follow the shape of the upper lip. Wet the space under the upper lip with your finger and press the lower lip onto the moon, smooth the edges down.
Use your tool to shape the expression. You can change the expression a lot at this stage, but be careful not to overwork it, you'll never get a natural expression if you overwork the mouth. Again, it helps to have a mirror handy so you can check your own lips for expression.
Prop your moon up so it can dry without smashing any of the hard work you've done!
Wednesday, April 7, 2010
Creative Paperclay


It's my favorite medium for sculpting.
Why Creative Paperclay you ask?
What's not to like?
It's easy to work with - It air dries, no kiln, no oven needed.
It's forgiving - You can change what you've done even after it dries, just cut off the part you don't like, wet the area you're going to add new clay to and start over!
It's versatile - It can be sculpted into faces, hands, rocks, walls. It can be draped for cloth. I've made figures ranging in size from 1.5" to 4.5' tall.
But most of all, for me, it's the surface when it's dry; it's just like paper (as the name implies?). I can draw on it with pencil, or paint it with watercolor or acrylic. It can take a wash or heavy coverage with paint, or the white clay can stand on it's own.
I love it. If you haven't tried it I highly recommend it.
Saturday, February 13, 2010
What to do today.


It's a gray, cold (for Florida) morning and I'm looking at the stuff on and around the work table in my studio. I'm not sure what I want to do today; not feeling ambitious.
There are some bits and pieces that were unearthed during the studio overhaul that could turn into something interesting, perhaps today is the day to start looking at them. Or it could be the day to read a good book.......
Thursday, December 31, 2009
Blue Moon

There's a Blue Moon tonight. My favorite art work of my own is titled "Blue Moon". It was conceived at the American Craft Council, Sarasota, Florida show, in 2002. My business name was Silver Moon Studio. Across the aisle was a potter who called his business Blue Moon Studio. During the course of the show he explained that he and his wife (and fellow potter) had found their farm in upstate New York, with a pottery studio already built on it, on the day of a blue moon.
I was sitting in my booth thinking about a blue moon being the second full moon in a month when it occurred to me that, no, it would simply be a very sad moon. I did some quick sketches right away and had intended to share them with you, but I have misplaced the sketchbook I was using at the time. Anyway, I did not follow the sketches very closely. I very rarely do. The piece didn't come to fruition right away; I finished him in 2006.
He was sculpted in Creative Paperclay with a wood and wire armature. His clothing was also made of paperclay with acrylic paint and silver leaf. I knew that he would be wear all shades of blue with some purple. I didn't plan on the red tie. It was a last minute decision. It was his choice and it is out of character for him, but he wears it any way because it was a gift from the sun.
"Blue Moon" is living in the Atlanta area. He found a new home when we were there for the American Craft Council Show in March 2008.
Happy New Year!
Tuesday, September 8, 2009
Sculptural Book Art Revisited


Having committed to participating in the sculptural book show I have until November 20th to finish my piece. It's my first work of this kind and I was unsure of which direction to go in. Research showed both sculptural books created from exsiting books, like the ones pictured in the previous blog and books created entirely by the artist; a great book on this type is "The Penland Book of Handmake Books". I'm going to work on an existing book.
I looked through my books and after narrowing it down to two, finally decided to use an old Lino Typefaces book because the finished piece will probably have faces in it. What do you think? Too obvious?
Subscribe to:
Posts (Atom)


